How to Troubleshoot Common Webcam Issues: Blurry Video, No Signal, and More
By Logitechmalls | Published: 2026-06-25
Category: How-to Guides
Struggling with a blurry webcam or no signal? This guide covers step-by-step fixes for common webcam issues, from focus problems to driver errors, plus product recommendations.
Whether you're joining a critical business meeting, recording a podcast, or streaming gameplay, a malfunctioning webcam can derail your entire workflow. Blurry video, a black screen, or intermittent connection errors are among the most frustrating webcam issues users face in 2025. Fortunately, most problems have straightforward solutions you can try before reaching for a replacement. In this comprehensive guide, we'll walk you through the most common webcam troubleshooting scenarios—from fixing blurry feeds to restoring lost signals—and recommend reliable hardware upgrades to prevent future headaches.
Why Is My Webcam Blurry? Causes and Quick Fixes
A blurry webcam image is often the first sign of trouble. Before assuming hardware failure, check these common causes:
1. Incorrect Focus Settings
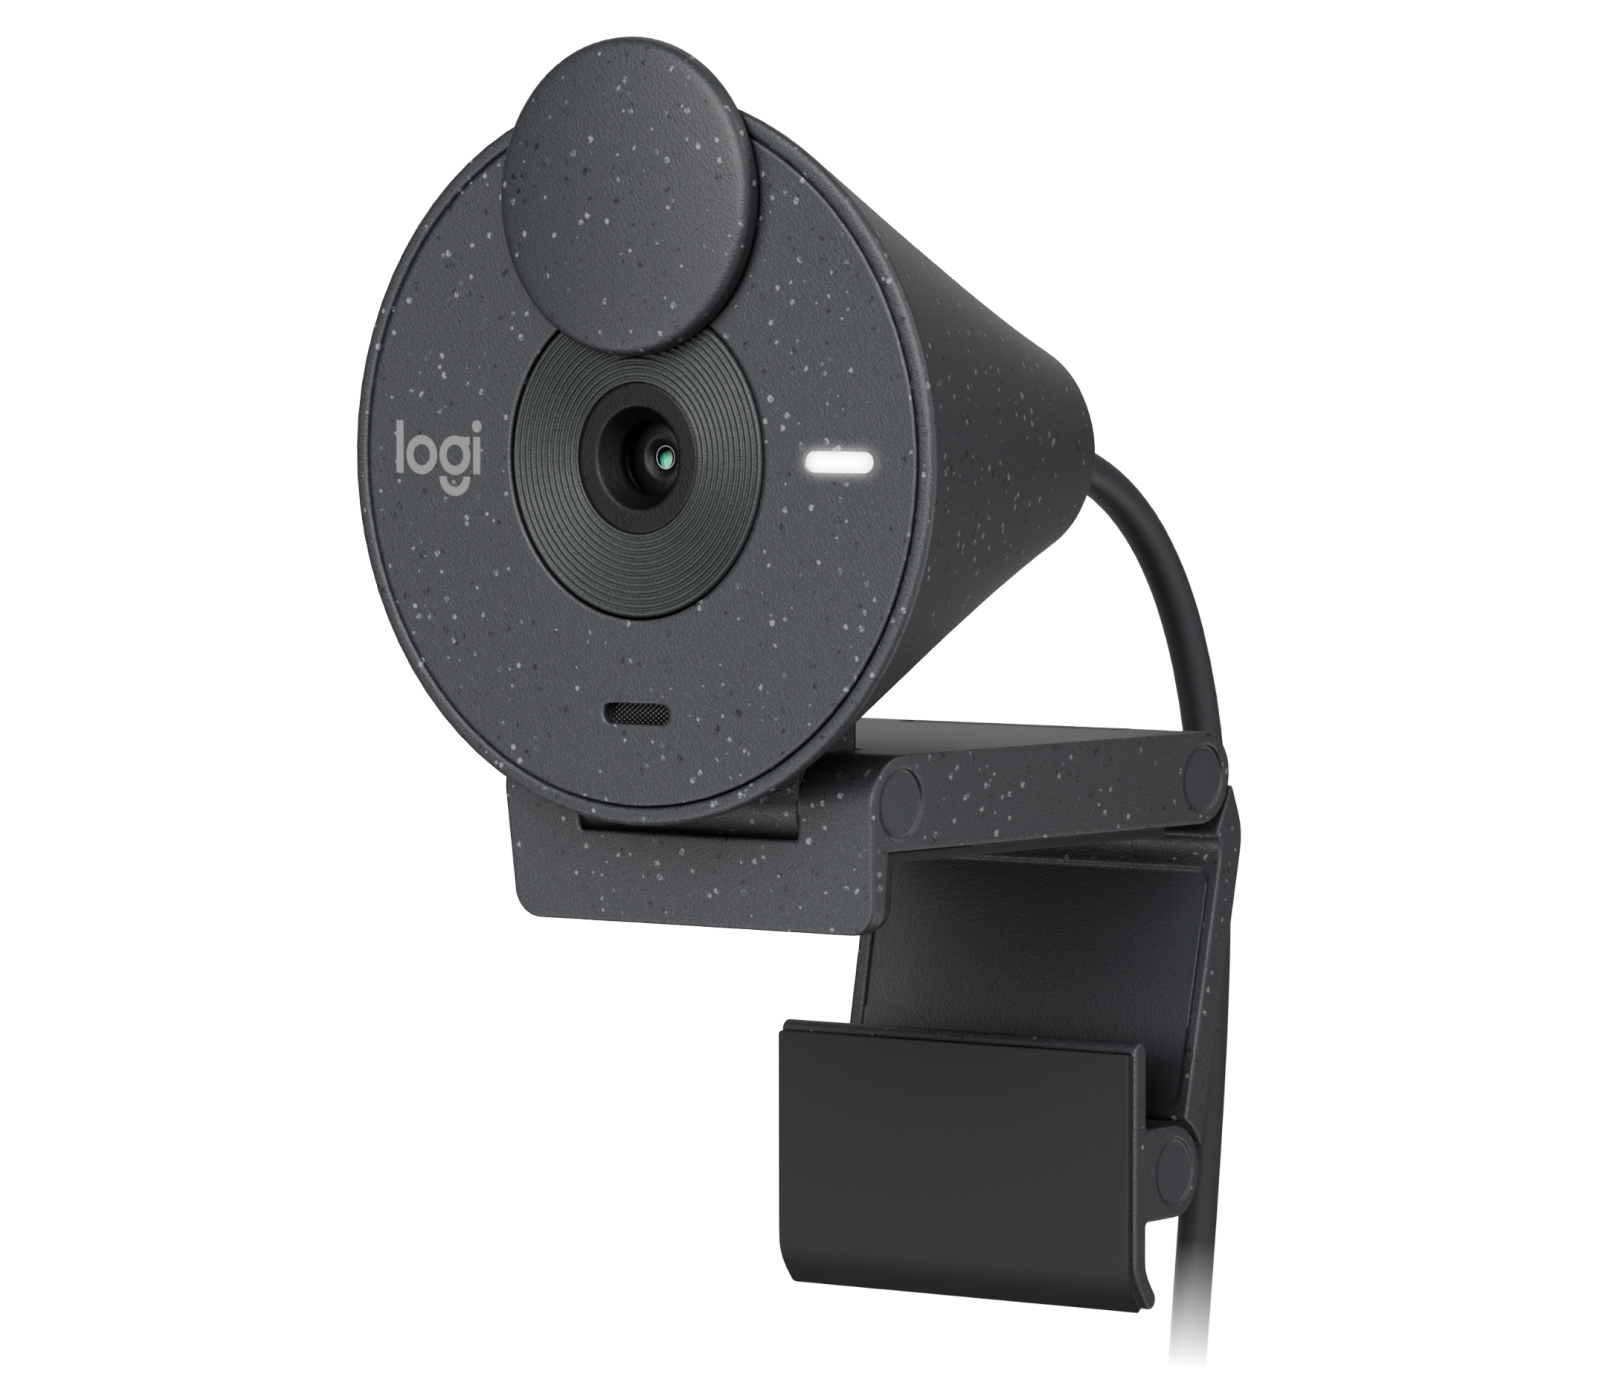
Many modern webcams, including the Brio 300 - Graphite, feature auto-focus that can sometimes lock onto the background instead of your face. Manually adjust the focus ring (if available) or use the camera software to set a fixed focus. On Windows, open the Camera app and look for focus controls. On macOS, use QuickTime Player’s camera settings.

2. Dirty Lens
Fingerprints, dust, and smudges are common culprits. Gently clean the lens with a microfiber cloth slightly dampened with lens cleaner. Avoid abrasive materials or liquids that could seep into the camera housing.
3. Low Light Conditions
Webcams need adequate lighting to produce sharp images. If your room is too dark, the camera’s sensor compensates by increasing ISO, which introduces grain and blur. Use a ring light or position yourself facing a window. Some webcams have built-in low-light correction, but it’s not a substitute for proper illumination.
4. Outdated Drivers
Driver conflicts are a top cause of blurry webcam video. Visit your webcam manufacturer’s website or use Device Manager (Windows) to check for driver updates. Uninstall the current driver, restart your computer, and let Windows reinstall the latest version automatically.
Webcam Not Working: No Signal or Black Screen
A black screen or “No signal” error is more alarming but often fixable. Follow these steps in order:
1. Check Physical Connections
Ensure the USB cable is securely plugged into both the webcam and your computer. Try a different USB port—preferably a USB 3.0 port for higher bandwidth. If you’re using a USB hub, connect the webcam directly to the computer to rule out hub issues.
2. Verify Privacy Settings
Many laptops and external webcams have a physical privacy shutter. Make sure it’s open. Also, check your operating system’s camera privacy settings: on Windows, go to Settings > Privacy & Security > Camera and enable app access. On macOS, go to System Preferences > Security & Privacy > Camera and ensure your apps are allowed.
3. Restart the Camera App or Software
Sometimes a software crash causes the black screen. Close all apps using the camera (Zoom, Teams, OBS, etc.), then reopen them. If that fails, restart your computer entirely—this clears temporary glitches.
4. Test with a Different Application
Use the built-in Camera app (Windows) or Photo Booth (macOS) to test the webcam. If it works there but not in a specific app, the problem is with that app’s permissions or settings, not the hardware.
Advanced Troubleshooting: Driver Conflicts and Hardware Failure
If basic steps don’t resolve the issue, you may be facing driver conflicts or hardware defects.
1. Update or Roll Back Drivers
In Device Manager, locate your webcam under “Imaging devices” or “Cameras.” Right-click and select “Update driver.” If the problem started after a recent update, choose “Roll back driver.” For Logitech webcams, use the Logitech G HUB or Logitech Capture software to manage firmware.
2. Disable Other Cameras
If you have multiple cameras (e.g., built-in laptop webcam and external), disable the one you’re not using in Device Manager. This prevents resource conflicts that can cause signal loss.
3. Test on Another Computer
Plug the webcam into a different PC or laptop. If it works there, the issue is with your original computer’s USB ports, drivers, or software. If it still fails, the hardware may be defective.
4. Check for Physical Damage
Inspect the USB cable for kinks, cuts, or frayed ends. Damaged cables can cause intermittent signal drops. Also check the camera’s lens for cracks or internal fogging (moisture damage).
How to Prevent Webcam Issues in the Future
Preventive maintenance goes a long way. Here are actionable tips:
- Keep drivers updated—set automatic updates for your camera software.
- Use a dedicated USB port—avoid sharing bandwidth with high-power devices like external hard drives.
- Clean the lens weekly with a soft cloth to prevent smudges from hardening.
- Store your webcam in a dust-free case when not in use.
- Consider a high-quality replacement if your current webcam is over three years old. Newer models like the Brio 300 - Graphite offer superior autofocus, 4K resolution, and advanced light correction that reduce the likelihood of blurry video.
When to Replace Your Webcam vs. Repair
If you’ve exhausted all troubleshooting steps and the webcam still has issues, it’s time to evaluate cost vs. benefit. Repairing an older webcam (replacing the cable or lens) often costs almost as much as a new entry-level model. In 2025, even budget-friendly webcams deliver excellent 1080p video with built-in noise reduction and auto-focus. Upgrading to a modern model can also bring features like background blur, face tracking, and better low-light performance.
For those who need reliable performance for professional calls or content creation, investing in a solid webcam is a wise move. The Brio 300 - Graphite, for example, offers plug-and-play simplicity with Logitech’s RightLight technology that automatically adjusts to lighting conditions—reducing the chance of blurry or dark video.
Frequently Asked Questions (FAQ)
Q: Why does my webcam work on one app but not another?
A: This is usually a permission issue. Check the app’s camera access settings and ensure it has permission.
Q: Can a bad USB cable cause a webcam to show a black screen?
A: Absolutely. A damaged or low-quality cable can cause intermittent signal loss. Replace the cable if possible.
Q: Is 720p webcam quality still acceptable in 2025?
A: For casual video calls, 720p is fine. However, for professional presentations or streaming, 1080p or 4K is recommended to avoid pixelation and blur.
Q: How do I fix a webcam that worked before a Windows update?
A: Roll back the driver or uninstall the recent update via Settings > Windows Update > Update history.
Final Thoughts
Webcam issues can be frustrating, but most are solvable with simple checks—focus settings, lens cleaning, driver updates, and privacy permissions. By following the steps in this guide, you can quickly diagnose and fix blurry video, no-signal errors, and other common problems. If your current webcam is beyond repair or simply outdated, upgrading to a reliable model like the Brio 300 - Graphite ensures crystal-clear video and hassle-free operation for years to come.
Explore the Brio 300 - Graphite today and enjoy sharp, professional-quality video on every call.