How to Clean and Maintain Your Mechanical Keyboard for Long-Lasting Performance
By Logitechmalls | Published: 2026-05-29
Category: How-to Guides
Learn expert tips for cleaning and maintaining your mechanical keyboard. Discover step-by-step methods, tools, and habits to extend keyboard longevity and keep it performing like new.
Your mechanical keyboard is more than just a typing tool—it's an investment in comfort, speed, and productivity. Whether you're a writer, gamer, or remote professional, a well-maintained keyboard can last for years, delivering crisp keystrokes and reliable performance. But dust, crumbs, and grime inevitably build up, slowing down switches and even causing key chatter. In this guide, we’ll walk you through the best practices for keyboard cleaning, mechanical keyboard maintenance, and keyboard care to ensure your device stays in top shape. Plus, we’ll show you how to incorporate these cleaning tips into your routine for maximum keyboard longevity.
Why Regular Mechanical Keyboard Maintenance Matters
Mechanical keyboards are built to withstand millions of keystrokes, but they’re not immune to dirt. Over time, debris can get lodged under keycaps, causing switches to feel sticky or unresponsive. Dust accumulation inside the case can also interfere with electrical contacts, leading to missed keystrokes or erratic behavior. Regular keyboard cleaning prevents these issues, reduces wear, and maintains the satisfying tactile feedback you love. Simple keyboard care habits—like a weekly dusting—can double the lifespan of your board, saving you money and frustration.
Tools You’ll Need for Safe Keyboard Cleaning
Before you start, gather the right tools. Avoid harsh chemicals or soaking your keyboard in water—these can damage electronics. Here's what we recommend:
- Keycap puller (wire or plastic)
- Soft-bristled brush (like a makeup brush or paintbrush)
- Compressed air duster
- Isopropyl alcohol (70% or higher)
- Microfiber cloth
- Small container for keycaps
- Cotton swabs
Having these on hand makes mechanical keyboard maintenance quick and effective. For a premium typing experience, consider pairing your clean keyboard with a high-quality ergonomic setup like the ERGO K860 - Graphite - English US (QWERTY), which offers a split layout and wrist support for added comfort.
Step-by-Step Guide to Cleaning Your Mechanical Keyboard
Step 1: Unplug and Power Down
Always disconnect your keyboard from your computer or turn off wireless mode. This prevents accidental inputs and protects the electronics.
Step 2: Remove Keycaps Carefully
Use a keycap puller to gently lift each keycap. Work from one corner to avoid bending stems. Place keycaps in a container with warm, soapy water for 15–20 minutes. Rinse and let them air dry completely before reattaching.
Step 3: Clean the Switch Area
With keycaps removed, use compressed air to blow out loose debris from between switches. Hold the can upright and use short bursts. For stubborn dirt, use a soft brush or cotton swab dipped in isopropyl alcohol to gently clean around switch stems. Avoid dripping alcohol into the switch housing.
Step 4: Wipe Down the Case
Dampen a microfiber cloth with a small amount of isopropyl alcohol and wipe the keyboard frame and case. Don’t oversaturate—moisture can seep into PCB traces. For crevices, use a dry brush or toothpick wrapped in cloth.
Step 5: Reassemble and Test
Once keycaps are completely dry, snap them back onto their respective switches. Test each key to ensure they register correctly. If any switch feels off, repeat the cleaning process for that key.
Deep Cleaning for Sticky or Grimey Keys
If your keyboard has seen heavy use (e.g., near a desk where you eat), you might need a deeper clean. For oil or sticky residue on switches, apply a drop of isopropyl alcohol to a cotton swab and gently rub the switch stem. You can also use a switch opener for more thorough cleaning, but this requires desoldering—best left to enthusiasts. For everyday grime, the steps above suffice.
Daily and Weekly Maintenance Habits
Incorporate these simple habits for ongoing keyboard care:
- Daily: Shake out debris upside-down, or use a soft brush.
- Weekly: Use compressed air to blow under keycaps.
- Monthly: Do a full keycap removal and clean every 4–6 weeks.
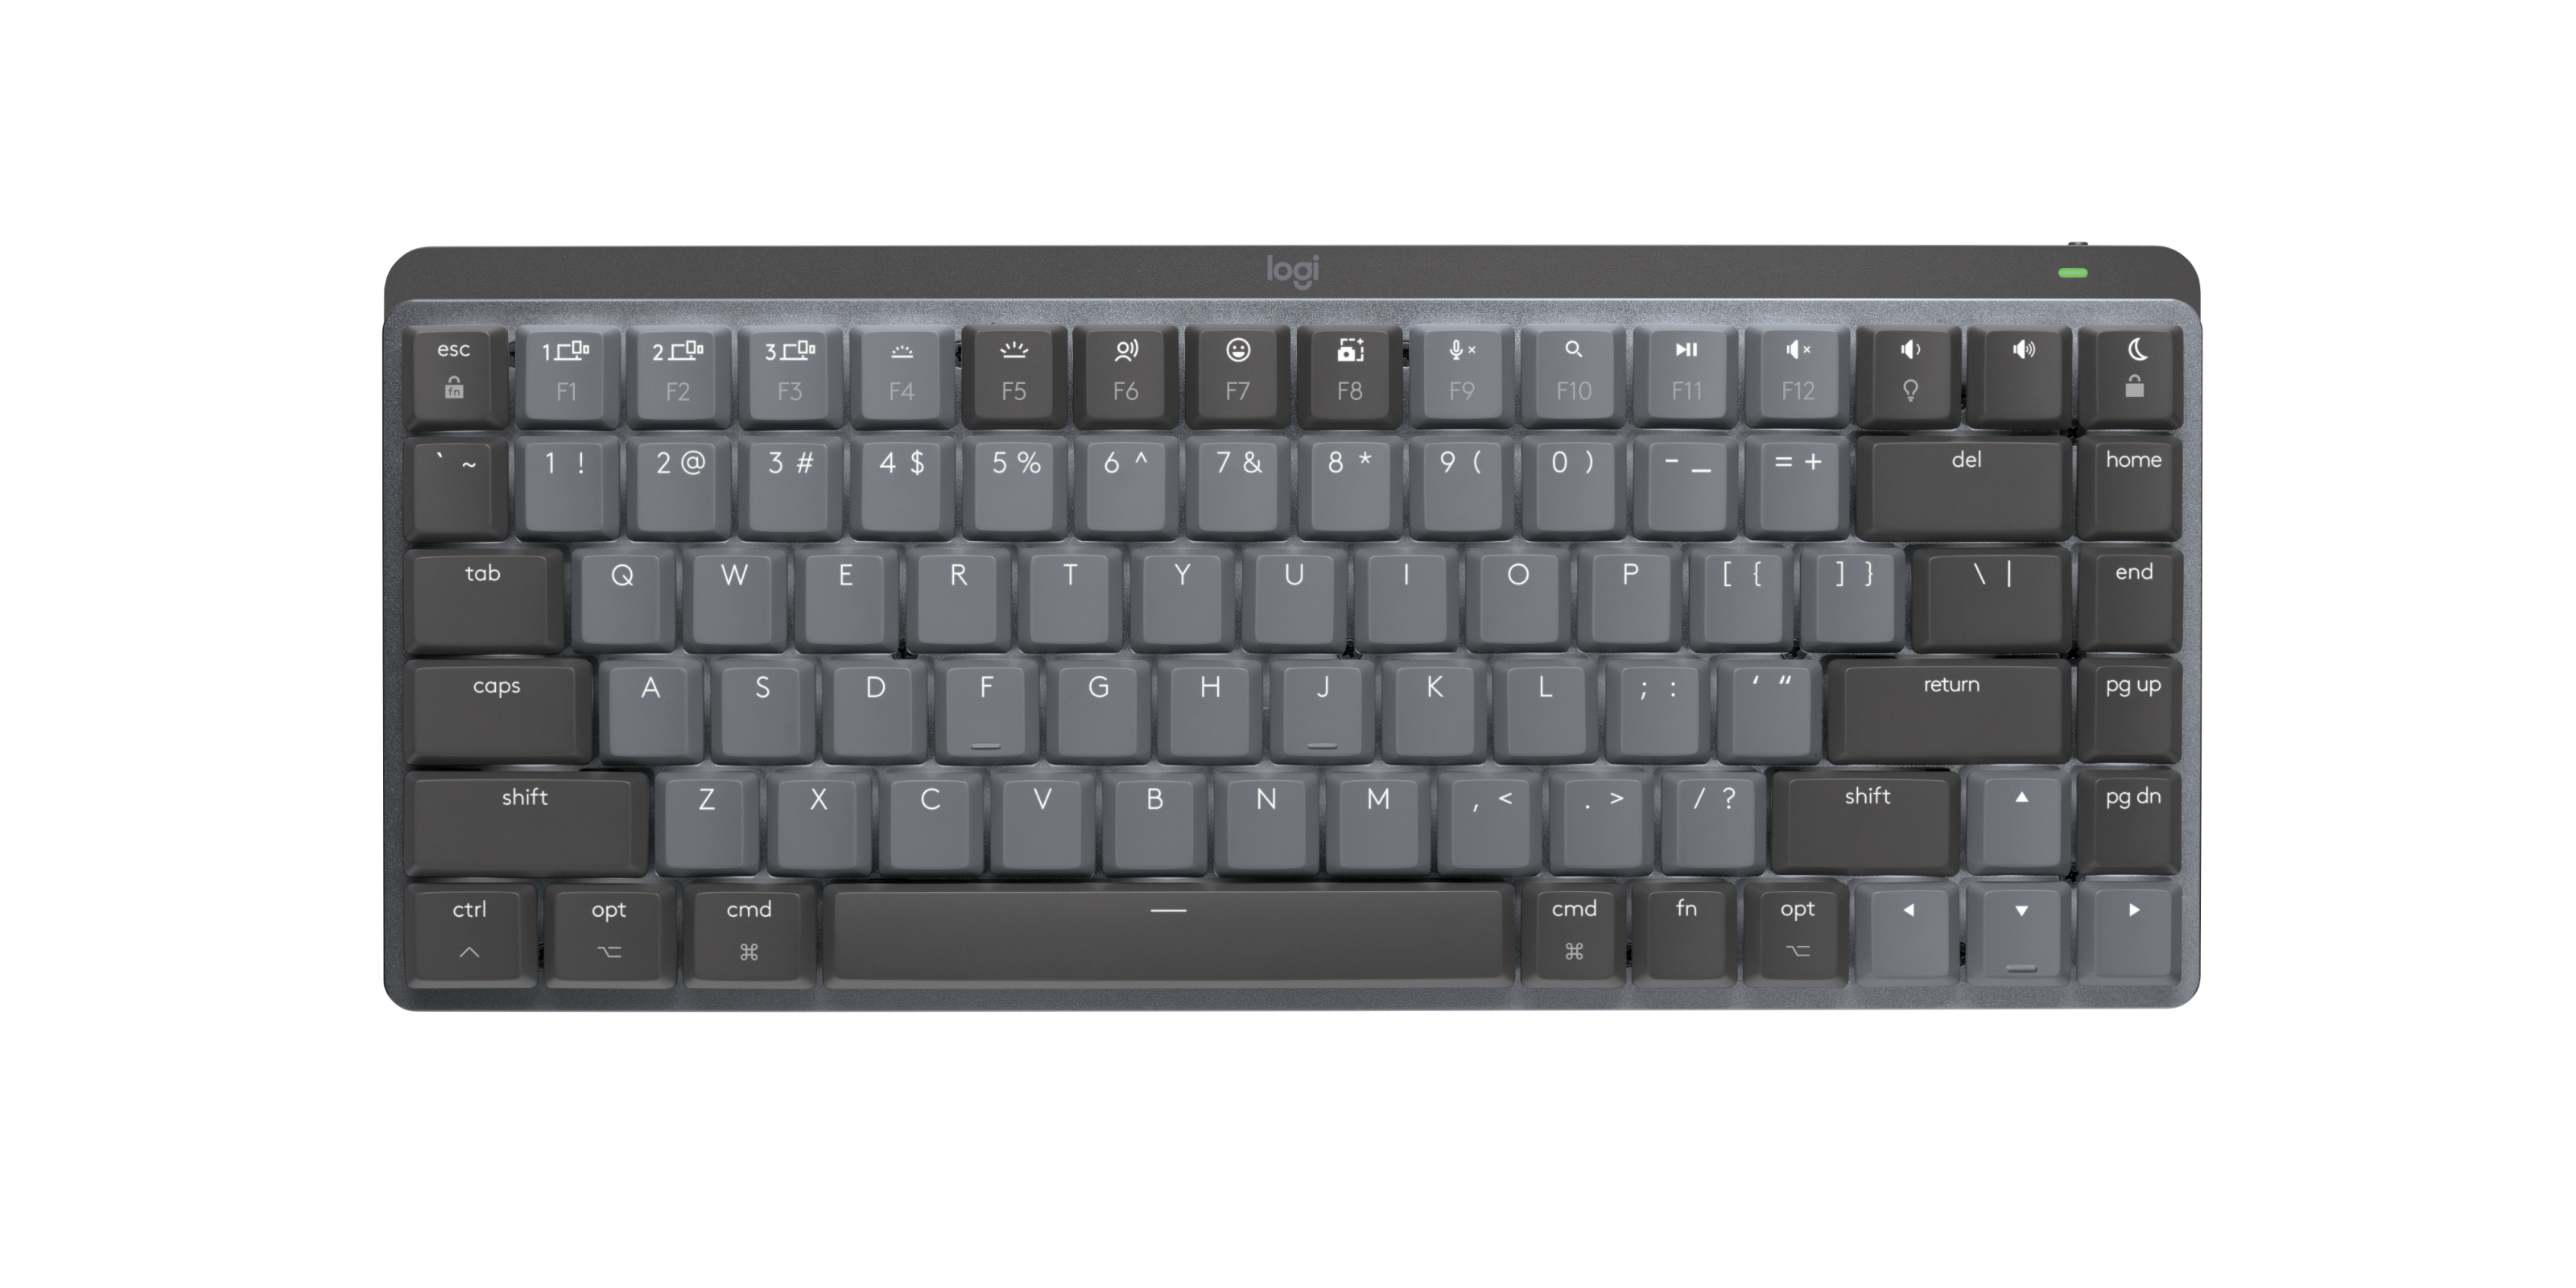
These cleaning tips prevent buildup and keep your keyboard feeling fresh. If you’re looking for a versatile keyboard that’s easy to maintain, the POP Icon Combo - Graphite & White - English US (QWERTY) features hot-swappable switches, making cleaning and replacement a breeze.
Common Mistakes That Reduce Keyboard Longevity
Avoid these errors to maximize keyboard longevity:
- Using too much liquid: Water or alcohol can short-circuit the PCB if it pools under switches.
- Pulling keycaps too hard: Always use a puller—never pry with a screwdriver.
- Neglecting the USB cable: Dust can accumulate in ports; clean with a dry brush.
- Forgetting to dry keycaps thoroughly: Moisture trapped under caps can cause corrosion.
By following proper mechanical keyboard maintenance, you avoid these pitfalls and ensure your keyboard stays reliable for years.
When to Replace Keycaps or Switches
Even with excellent keyboard care, keycaps and switches wear out. Signs include:
- Shiny or smooth keycaps (wear on ABS plastic)
- Chipped or cracked stems
- Inconsistent switch actuation (double-clicks or no clicks)
Replacing keycaps is straightforward and can refresh the look and feel of your board. For switches, consider replacing them individually if they’re hot-swappable, or desoldering for soldered boards. Quality keycaps, like PBT doubleshot, resist wear longer and are worth the investment.
How to Store Your Mechanical Keyboard When Not in Use
If you travel or store a spare keyboard, keep it in a dust-free, dry environment. Use a keyboard case or cover, and avoid stacking heavy objects on top. For added protection, place a silica gel pack inside the case to absorb moisture. This is especially important for keyboards with backlighting, as dust can dim RGB effects over time.
Cleaning Specific Switch Types: Linear, Tactile, and Clicky
While the cleaning process is similar, different switch types may need extra attention:
- Linear switches: Dust can cause scratchiness—use a lubricant after cleaning if desired.
- Tactile switches: Debris can mute the bump—focus on cleaning the stem area.
- Clicky switches: Crumbs can interfere with the click mechanism—use compressed air carefully.
Regardless of switch type, regular mechanical keyboard maintenance keeps them consistent.
Conclusion: Build a Routine for a Lifetime of Performance
Cleaning your mechanical keyboard doesn’t have to be a chore. With the right tools and a consistent schedule, you can keep your board looking and feeling like new. Remember to unplug before cleaning, use gentle techniques, and dry components thoroughly. Whether you’re typing at home or in an office, these cleaning tips will extend keyboard longevity and improve your daily experience.
Ready to upgrade your typing setup? Explore the ERGO K860 - Graphite - English US (QWERTY) for an ergonomic split design that pairs perfectly with a clean keyboard. Its sculpted keyframe reduces strain while you type, and its easy-to-clean surface makes maintenance simple. Visit Logitechmalls today to find your ideal keyboard and accessories!