Mastering Conference Room Camera Placement: Optimal Angles and Positioning for Crystal-Clear Video
By Logitechmalls | Published: 2026-06-25
Category: How-to Guides
Learn the best practices for conference camera placement in 2025, including ideal height, angle, and field of view for huddle rooms and large meeting spaces.
In the era of hybrid work, the quality of your video meetings can make or break collaboration. A common mistake is assuming that any webcam will suffice, but the real secret to professional, engaging video calls lies in conference camera placement. Even the most advanced meeting room camera will underperform if it's positioned poorly. This comprehensive guide covers optimal angles, mounting heights, and field-of-view tips to transform your video conferencing setup—whether you're outfitting a small huddle room or a large boardroom.
Why Camera Positioning Matters More Than You Think
Bad camera placement can create distracting visuals: unflattering angles, distorted faces, and poor eye contact. Conversely, correct positioning fosters engagement and professionalism. According to industry studies, participants in meetings with well-placed cameras report 30% higher focus and retention. For businesses, this translates to more effective decision-making and reduced meeting fatigue.
When setting up your video conferencing setup, consider three core factors: height (eye level or slightly above), distance (to frame participants naturally), and field of view (wide enough for the room, but not so wide that attendees appear tiny). Each factor is explored below.
Optimal Height: Eye Level Is the Gold Standard
The single most important rule for any conference camera placement is to position the lens at or slightly above eye level of the seated participants. This naturally simulates direct eye contact, which builds trust and engagement. A camera placed too low (e.g., on a desk looking up) creates an unflattering double-chin effect; a camera mounted too high (e.g., near the ceiling) makes participants look small and disengaged.
Recommended heights:
- Huddle rooms (2–4 people): Mount the camera 42–48 inches from the floor, centered on the display.
- Medium conference rooms (5–8 people): 48–54 inches, with a slight downward tilt (5–10 degrees) to capture all faces.
- Large boardrooms (8+ people): 54–60 inches, using a camera with pan/tilt/zoom capabilities to adjust dynamically.
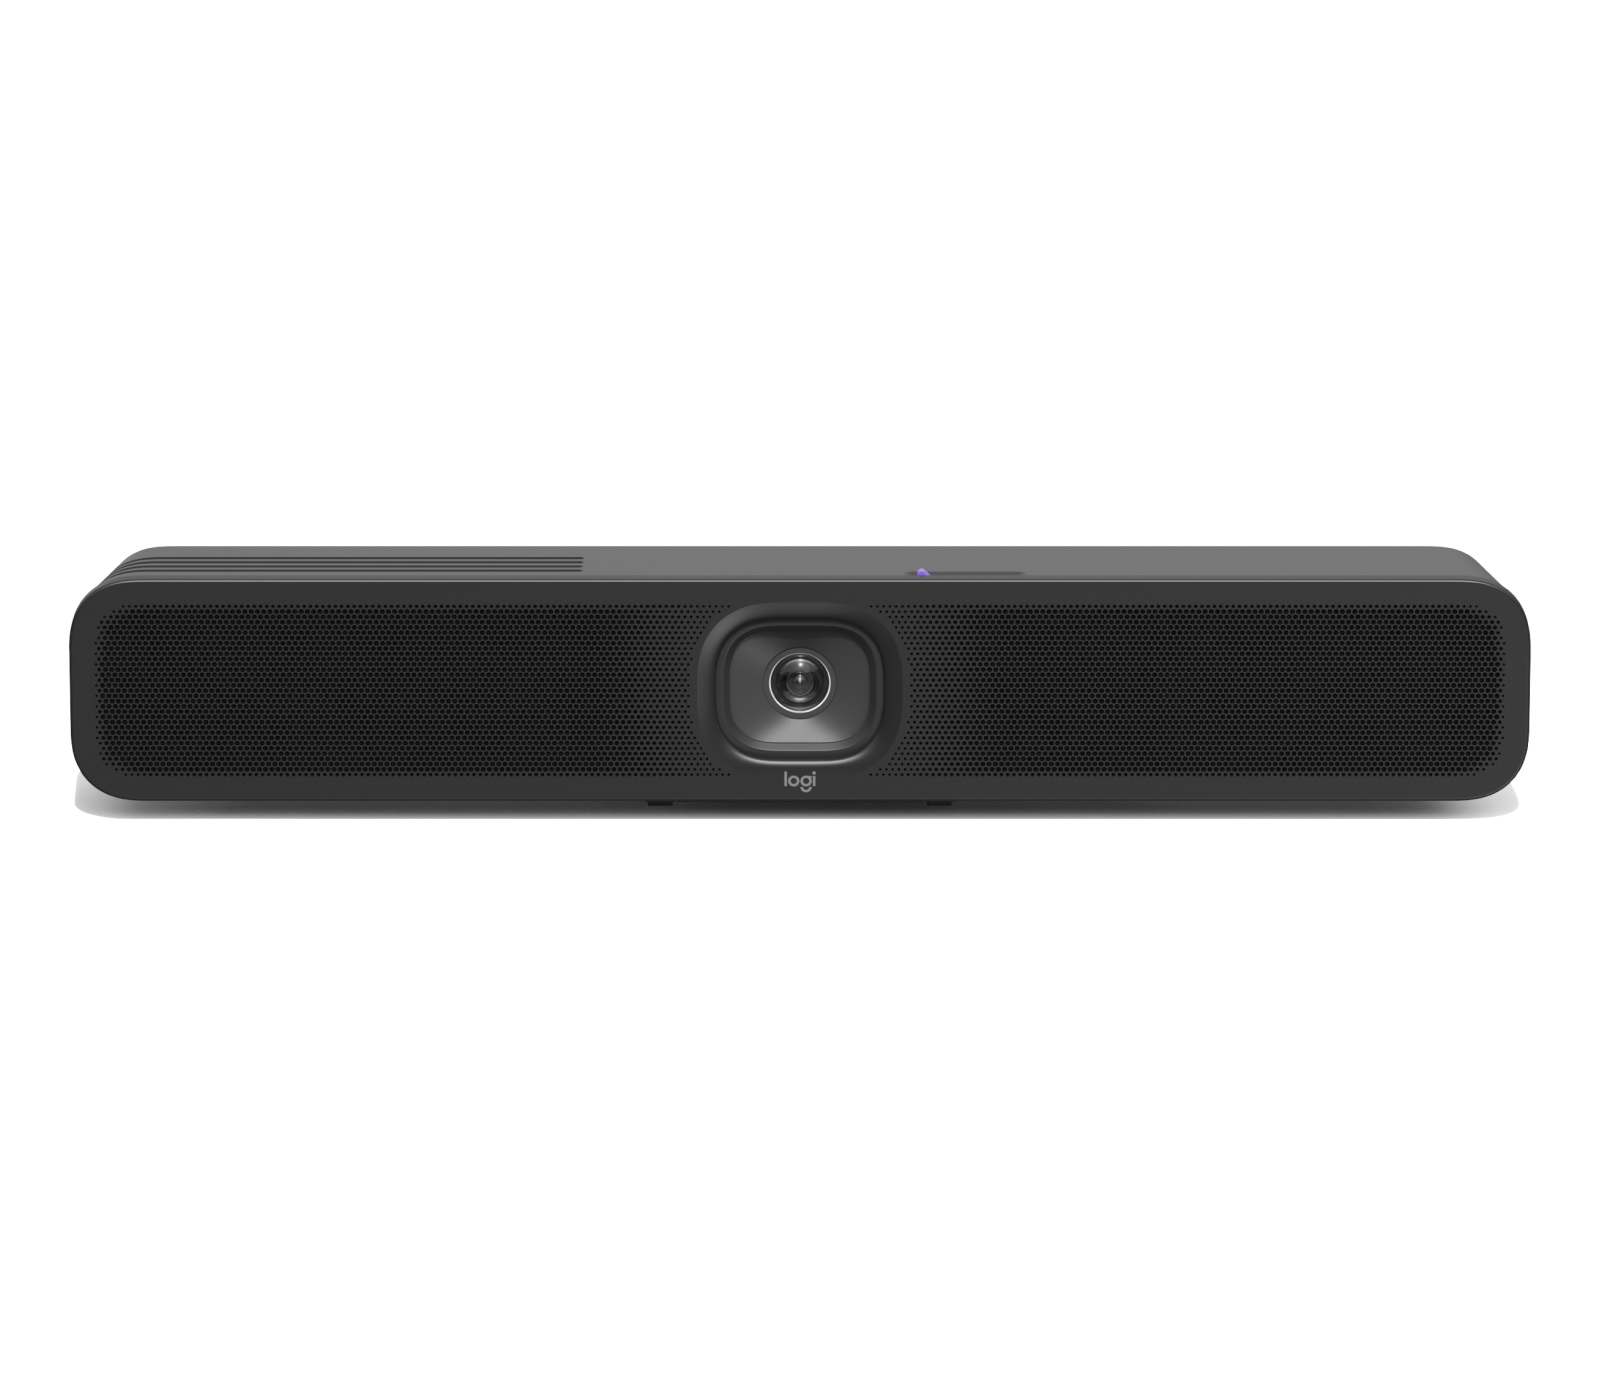
For a small huddle room, a device like the MeetUp 2 - Graphite excels because its wide 120° field of view and built-in AI framing automatically keep everyone centered, even as people move or join late. This eliminates the need for manual adjustments.

Distance and Framing: The 1:2 Rule
Distance from the camera to the participants directly affects how natural the video appears. A good rule of thumb: the camera should be placed at a distance that is roughly twice the height of the frame you want to capture. For example, if your table is 6 feet wide, position the camera 12 feet away to capture the full group comfortably.
Key framing tips:
- Single speaker: Frame from just above the head to mid-chest (not the full torso).
- Small group (2–4): Ensure each face occupies at least 10% of the frame width.
- Large group (5+): Use a camera with a wide field of view (e.g., 120° or more) and avoid placing participants more than 15 feet away, as facial expressions become hard to read.
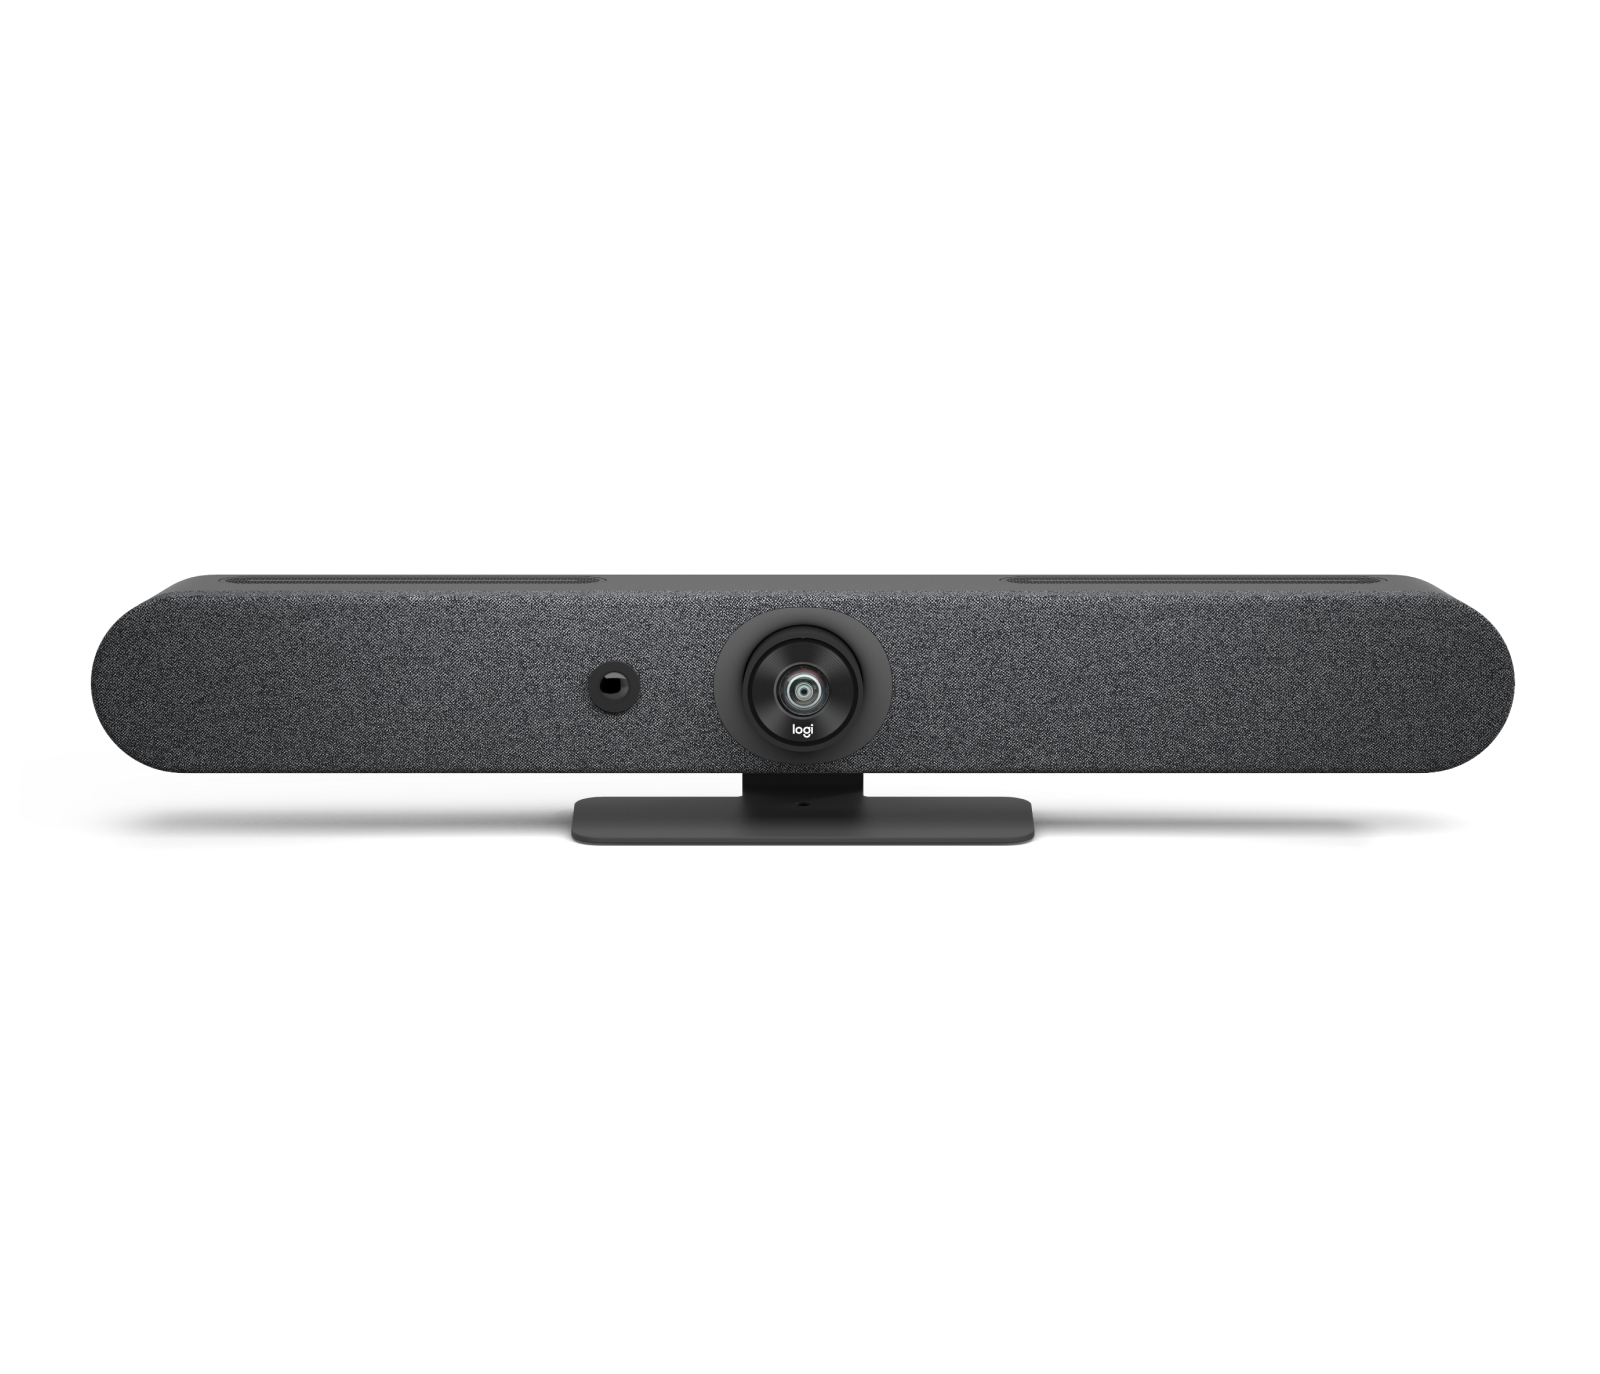
The Rally Bar Mini - Graphite is purpose-built for medium rooms, offering a 120° FOV with AI-powered auto-framing that adjusts the shot in real time. For larger spaces, you might consider a higher-end unit, but the Mini handles most standard conference rooms with ease.
Field of View and Lens Selection
Field of view (FOV) determines how much of the room the camera can see. Narrow FOV (60°–70°) is ideal for a single speaker or very small rooms, while wide FOV (90°–120°) suits huddle rooms and medium spaces. Ultra-wide (120°–150°) can capture large boardrooms but may introduce distortion at the edges.
FOV recommendations by room size:
| Room Type | Capacity | Recommended FOV | Mounting Tip |
|---|---|---|---|
| Huddle room | 2–4 people | 100°–120° | Place camera directly above screen |
| Small conference | 4–6 people | 90°–110° | Center camera between screen and table |
| Medium conference | 6–10 people | 110°–130° | Use PTZ for flexible coverage |
| Large boardroom | 10+ people | 130°–150° | Multiple cameras or PTZ with tracking |
For a huddle room, the MeetUp 2 - Graphite provides a balanced 120° FOV and includes a built-in noise-canceling microphone array, making it a complete all-in-one solution. In larger spaces, the Rally Bar Mini - Graphite offers modular expansion options for audio and video.
Lighting Considerations for Camera Placement
Even the best meeting room camera placement can be ruined by poor lighting. Position the camera so that the primary light source (e.g., windows or ceiling lights) is in front of participants, not behind them. Backlighting causes silhouettes and makes faces dark. If windows are unavoidable, use shades or curtains, or invest in a dedicated key light.
Pro tips:
- Avoid placing the camera directly under a bright overhead light, which creates harsh shadows under eyes and noses.
- Use soft, diffused lighting at a 45-degree angle from the camera for flattering results.
- For professional setups, consider a compact studio light such as the Litra Beam - Graphite, which clips onto your monitor and provides adjustable brightness and color temperature.
Common Mistakes and How to Avoid Them
Even seasoned IT managers make these errors. Here’s what to watch out for:
- Placing the camera too high or too low: Avoid ceiling mounts unless the camera has motorized tilt. Stick to the 42–60 inch range.
- Ignoring the background: Ensure the camera doesn't capture cluttered walls, bright windows, or distracting movement behind participants.
- Using a fixed camera in a dynamic room: If your meeting room frequently changes layout, invest in a camera with auto-framing or PTZ.
- Neglecting audio: A great video is useless if the audio is poor. The MeetUp 2 - Graphite includes built-in beamforming microphones to pick up voices from anywhere in the room.
Mounting Options: Wall, Ceiling, or Desk?
Each mounting option has trade-offs:
- Wall mount (above screen): Most common for huddle rooms. Provides eye-level positioning if the screen is at the right height.
- Ceiling mount: Best for large rooms where participants sit around a long table. Requires a camera with good tilt range.
- Desk or tripod mount: Flexible for ad-hoc meetings, but can be unstable and clutters the table.
Recommendation: For most offices, a wall mount above the main display is ideal. Pair it with a camera that has motorized tilt, like the Rally Bar Mini - Graphite, which can adjust its angle via remote or app for different room configurations.
Future-Proofing Your Video Conferencing Setup
As hybrid work evolves, camera technology is advancing rapidly. Look for features like AI auto-framing, multi-speaker tracking, and 4K resolution to ensure your setup remains relevant for the next 3–5 years. The MeetUp 2 - Graphite and Rally Bar Mini - Graphite both support firmware updates and integrate with major platforms like Zoom, Microsoft Teams, and Google Meet.
Additionally, consider your room's acoustics. A camera with built-in microphones (like the MeetUp 2) reduces cable clutter and simplifies setup. For larger rooms, the Rally Bar Mini's modular audio expansion ensures every participant is heard clearly.
Call to Action
Ready to elevate your meeting experience? Explore the MeetUp 2 - Graphite for huddle rooms or the Rally Bar Mini - Graphite for larger spaces. Both offer professional-grade video and audio in a sleek, easy-to-install package. Visit Logitechmalls today to find the perfect conference camera placement solution for your team.